
Getting started with OLX
If you’re reading this page you’ve probably hit a wall in the Studio UI. OLX is the escape hatch. This page covers the three workflows where it actually saves time.
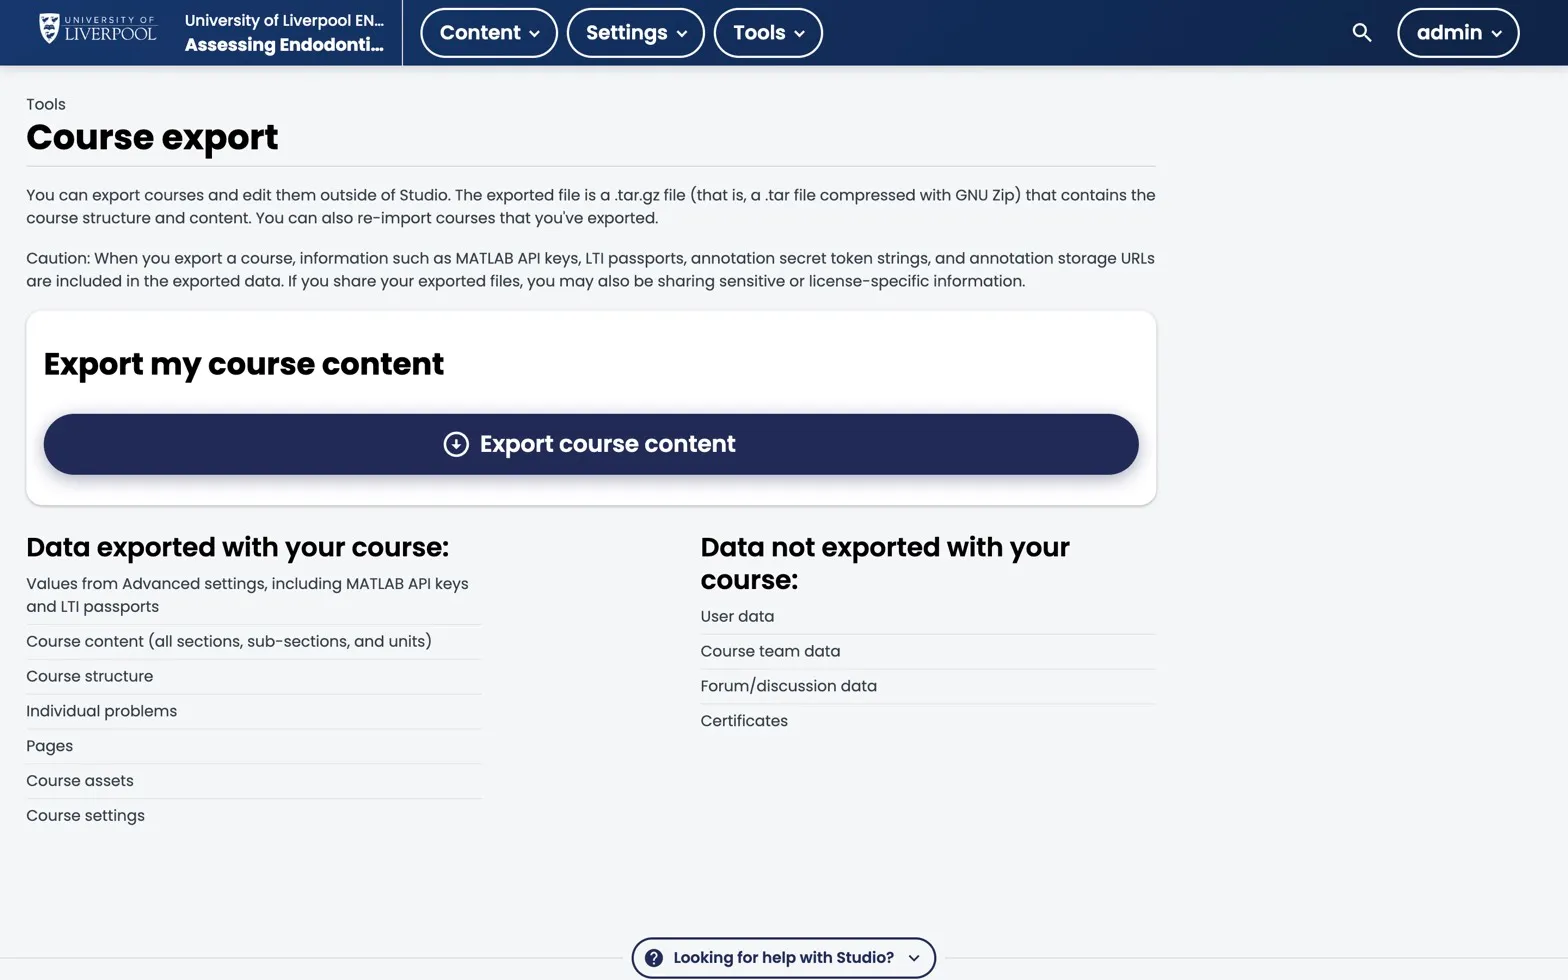
Studio → Tools → Course export is the entry to Workflow 2 below. For Workflow 1 (inline XML on a native problem), open a Problem component → Edit → Show Advanced Settings.
Workflow 1 — Inline XML edit on a single problem
The fastest entry. Inside the Problem editor:
- Click Edit.
- Settings → Show Advanced Settings.
- Choose Advanced (XML).
You can now edit the raw XML. Useful for:
- Adding
partial_credit="ec"to multi-select. - Adding
<solution>rich-text explanations. - Hand-tuning numerical tolerance ranges.
Save and the visual editor re-renders.
Workflow 2 — Bulk edit via export / import
For changes that touch many components:
- Tools → Export — download the course tarball.
- Unpack the tarball.
- Find the files you need to edit (the layout mirrors the course hierarchy).
- Edit in any text editor.
- Re-tar.
- Tools → Import — Studio overwrites the course with your changes.
Always make a backup export first — import is destructive.
Workflow 3 — Authoring outside Studio
Some teams write OLX directly and use git. This only makes sense if:
- You have multiple authors.
- You’re comfortable with git.
- You can live without Studio’s WYSIWYG.
Most Liverpool Dental teams won’t want this. If you do, see the upstream OLX reference for the full element vocabulary.
A short OLX reference
The high-frequency OLX elements:
<chapter>— section.<sequential>— subsection.<vertical>— unit.<html>— text component.<video>— video component.<problem>— problem component.